نصب و پیکربندی HP StoreVirtual VSA – بخش اول
If you’re not heard of the VSA before, here’s a bit of background info; as stated in the configuration guide, the “HP StoreVirtual VSA is a Virtual Storage Appliance that provides complete array functionality of HP StoreVirtual 4000 Storage for VMware vSphere or Microsoft Hyper-V environments without external array hardware”.
You can register for and download the StoreVirtual VSA here. The two packages I will be using are the VSA installer for vSphere and the CMC (Centralised Management Console for Windows:
Deploying HP StoreVirtual VSA on vSphere
Once you have the necessary files, you can begin the install by double clicking on the VSA vSphere installer. You’ll first be prompted to provide a location where the files can be unpacked to. Once the files are unzipped, you should be prompted to choose whether to continue the install using the CLI or a GUI:
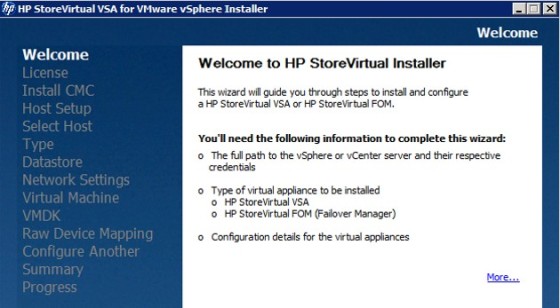
I’ve chosen to use the GUI wizard on this occasion. If you’re familiar with deploying virtual appliances through the vSphere client If you do the same you’ll be presented with the GUI, which will lead you though a series of pages where deployment options can be set, starting with the obligatory Welcome screen:
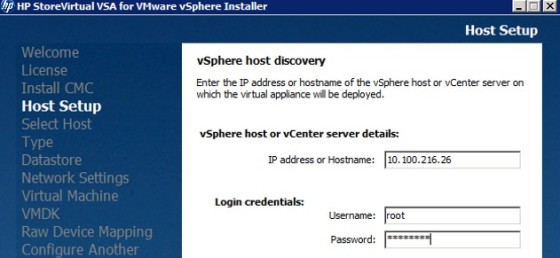
In the interests of making this post less screen shot heavy, I won’t go into detail on each page, instead I’ll just cover some of the main options. The first couple of pages after the welcome screen are where you accept the EULA, followed by being given the option to install the management console as part of this deployment. I’ll cover installing the management console in a follow up post, so decided not to here. The ‘Host Setup’ page is where you point the install wizard towards the vCenter (or ESXi host) to where the VSA will be deployed.
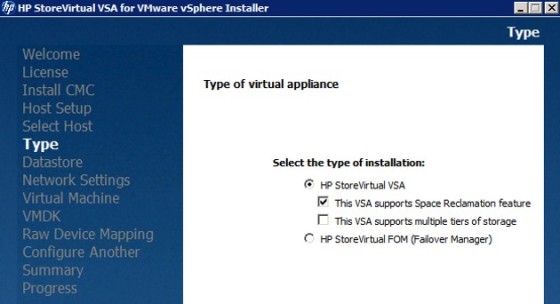
In my lab environment I chose to direct it straight to an ESXi host, which makes the following page, ‘Select Host’, redundant. On the next screen you choose the deployment type, which is HP StoreVirtual VSA. Note you also have options available to enable the space reclamation feature, and multi-tier storage support:
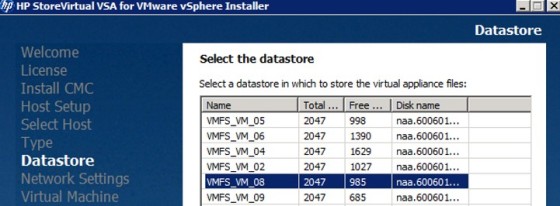
The next few screens cover configuring the VSA virtual machine. Starting with choosing the datastore on which it will be deployed:
The VMFS datastores used by the VSA must not be used by any other virtual machines. The appliance deploys with a 32GB thick provisioned disk.
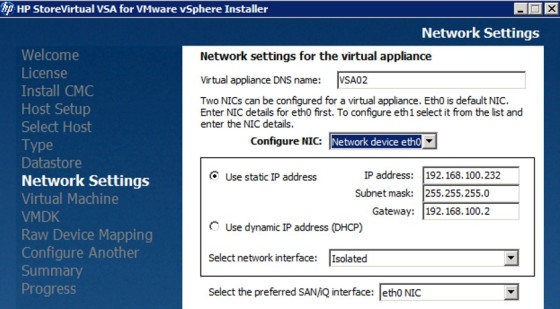
On the next screen, configure the network settings for the appliance:
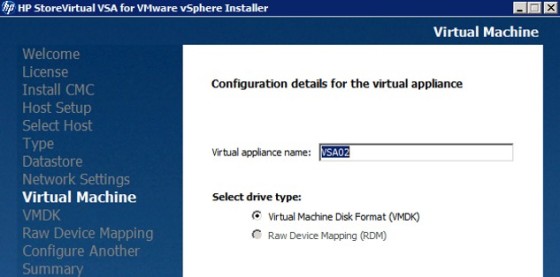
On a vSphere deployment you can configure two network interfaces. On the following screen, set the name for the virtual appliance, and the type of disk that will be used for the additional storage:
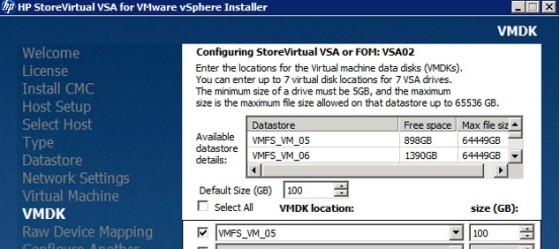
The next screen allows you to add additional virtual disks. These will be the storage that will subsequently be used to create volumes and present as LUN. For this deployment I have added a 100 GB disk:
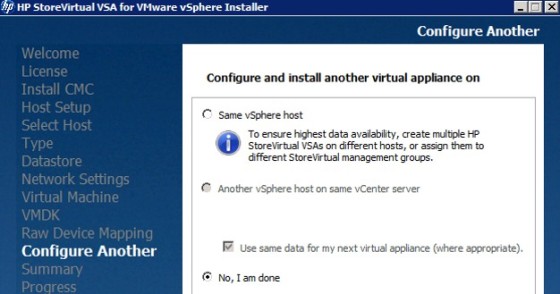
The ‘Configure Another’ screen allows you to deploy a second appliance from the same deployment wizard. I will need two VSAs for my SRM lab setup, in order to configure replication, but will deploy the second one at a different time, so have chosen not to deploy another at this point:
Finally, there will be a summary screen. Click ‘Deploy’ to begin deploying the appliance to the selected ESXi host – progress will be reported during the deployment. That’s it for this post. Note that the settings and deployment options I have chosen here are for a lab environment, and not designed for production. Check out the configuration document linked to below, to view the requirements and best practices for using the VSA in production environments.
In my lab I ran through the deployment process a second time, so that I have two VSAs up and running. Look out for part two, which will cover the management console installation, and basic configuration of the VSAs, along with replication configuration.
Useful Links and Resources
http://h20565.www2.hp.com/hpsc/doc/public/display?docId=emr_na-c03983809-1&docLocale=en_US

