بررسی Site Recovery Manager 6.0 – پیکربندی Site Pairing و Array Replication
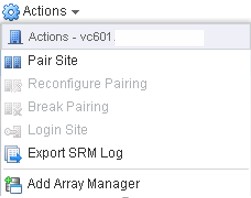
My previous post on Site Recovery Manager 6 covered the installation of SRM 6, along with the installation of an SRA so that it could communicate with my HP StoreVirtual VSAs. Once SRM and an SRA is installed on both vCenters then the next step is to connect the two vCenters/sites together. To do so, go to the Site Recovery area in the vsphere web client, then select sites. There should already be an entry for your local SRM site – we need to pair this with the recovery site, by selecting ‘Pair Site’ from the actions menu:
The ‘Pair Site Recovery Manager Servers’ will open, prompting you to enter the address of the platform services controller in the site you want to pair with:
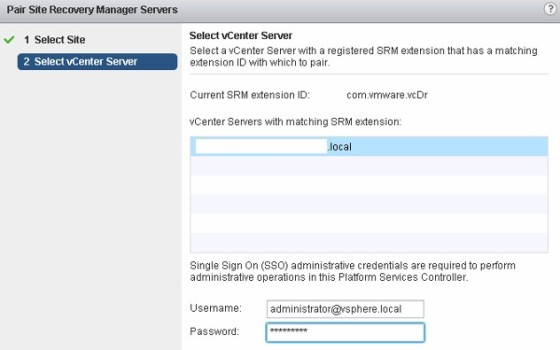
This is followed by selecting the vCenter server you want to pair with:
Once done, if successful, you should now see both sites/vCenters. With this done, the next step is to configure both SRM instances to talk to the storage arrays in each site.
Configuring Array Based Replication
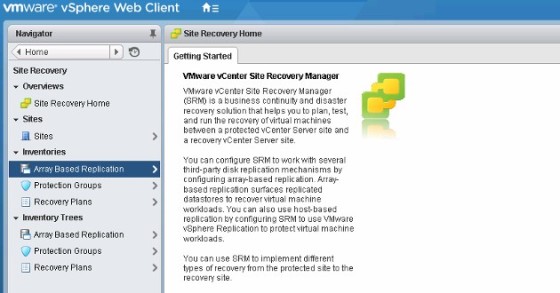
Before doing this, replication between the production and DR storage arrays should already be configured and tested. In my lab I am using a pair of HP StoreVirtual VSAs, with replication set up between my ‘production’ and ‘DR’ sites. SRM now needs to be configured to talk to the storage arrays in each site. To do so, go to the ‘Array Based Replication’ area:
Click the ‘Add Array Manager’ button, to launch the add array manager wizard:
As I have both sites connected and ready, I have chosen to add a pair of array managers at the same time. The next step is to select the two sites:
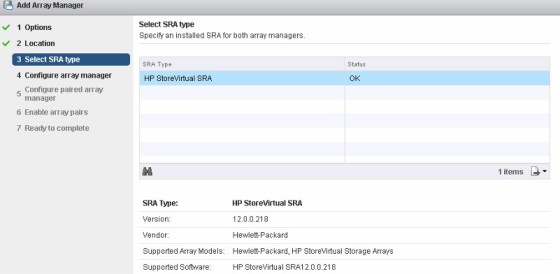
On the next screen, select the SRA to use. In my lab I have the SRA for the HP VSA installed:
Next, enter the IP address and credentials needed to access the first array manager. In my lab, this is the VSA representing my production site:
Then on the next screen do the same for the other array. The following screen lets you enable the pair:
The final page is a summary screen. Once the task is complete, you should see both array managers listed, with a healthy/OK status:
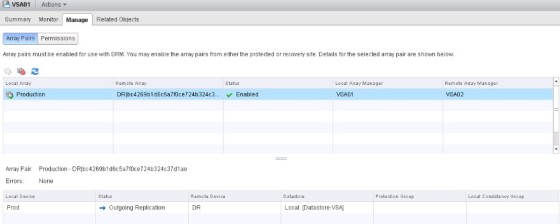
Selecting an array manager, and then looking at the Manage tab, will show any replicated storage, along with the direction of the replication. In my example below, I have one LUN being replicated from my production site to the DR site:
This it for this post. Next up I’ll look at some of the remaining SRM configuration tasks, such as mappings, and creating protection groups and recovery plans.
Keep up to date with new posts on Buildvirtual.net – Follow us on Twitter: Follow @buildvirtual
