نحوه نصب ویندوز 10 بر روی OS X در VMware Fusion 8
If you own an Intel-based Macintosh, there are many ways you can run Windows 10 on it. We previously looked at setting up Windows 10 using Apple’s Boot Camp. It’s perfect for scenarios where you want the raw performance from your device’s hardware. A Boot Camp configuration has its trade-offs, though. Still, Boot Camp remains the best choice in regards to utilizing the full hardware experience of your Mac.
If you need to use a select group of apps, maybe an in-house line of business app (LOB) or light productivity applications such as Microsoft Office or Adobe Photoshop, you can get away with using a Virtual Machine (VM). One leading solution in this category is VMware Fusion, which was among the first vendors to bring Windows virtualization to Intel Macs nearly 10 years ago.
I decided on trying out VMware Fusion, because of my great experience with the Windows version. I liked it so much, in fact, that I wrote an article on using VMware Workstation to install Windows 10. Before settling on VMware Fusion for my Mac, I tried out free solutions, but as you will find out, VMware is an entirely different experience; it is almost like having the near Boot Camp experience from within OS X.
Create Windows 10 Virtual Machine using VMware Fusion 8 Pro
There are few things you will need:
- VMware Fusion 8 Pro license, you can download a 30-day trial to give it a spin. There is an even cheaper VMware Fusion 8 license which should be more than suitable for most persons need.
- Compatible Intel Apple Macintosh computer
- Windows 10 license, see instructions how to download a disc image.
Install VMware Fusion 8 Pro for Mac
Before you begin, you need to install the software, after downloading, double-click the DMG image. When the DMG is mounted, double-click VMware Fusion to start the installation.
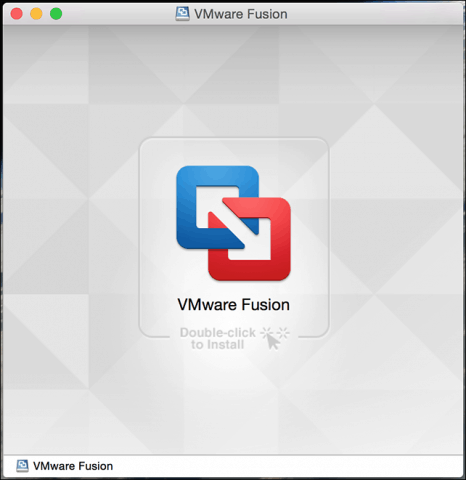
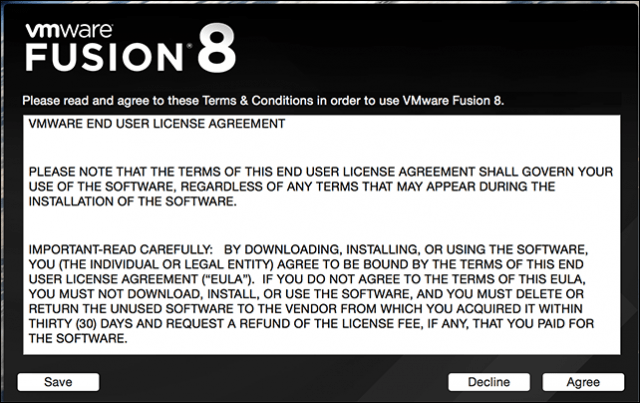
Enter your password and accept the license agreement.
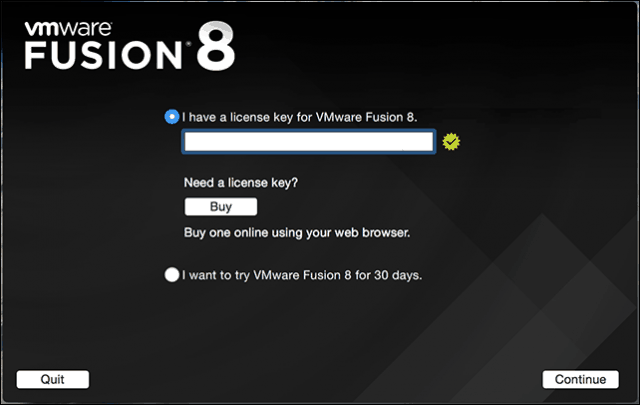
After that, enter your product key or try it out for free for 30 days.
Launch and Install VMware Fusion
On your Mac keyboard hit Command + Spacebar and type: VMware and press Enter.
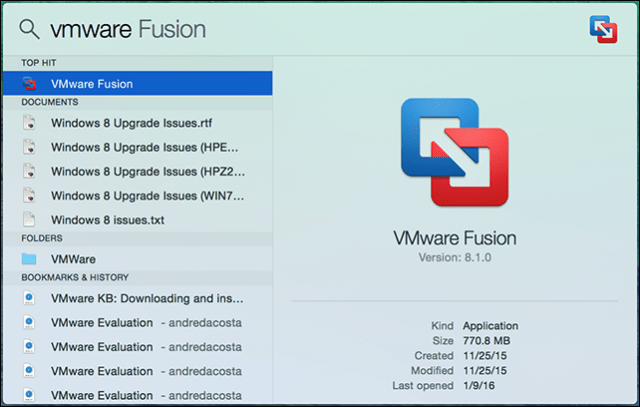
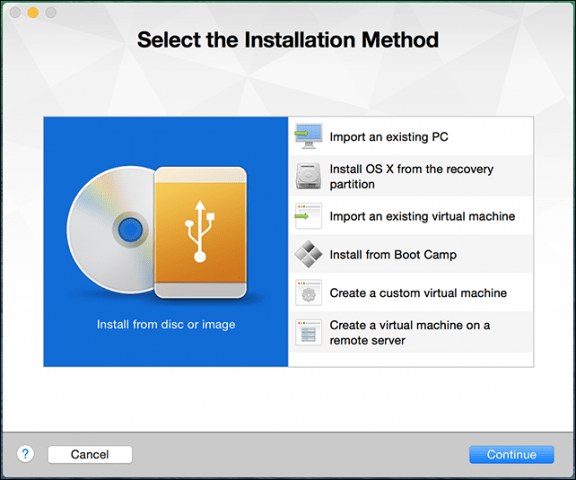
You have a few choices when it comes to selecting the install method. Since this article focuses on installing Windows 10, go with Install from a disc or image which should be the default selection.
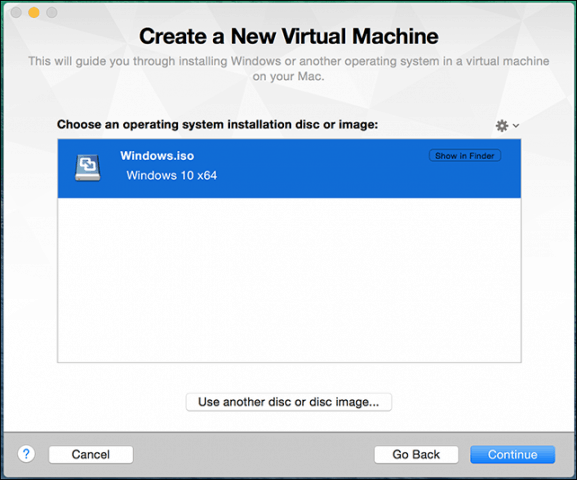
If you have your Windows Disc image ready, drag and drop it into the window and click Continue.
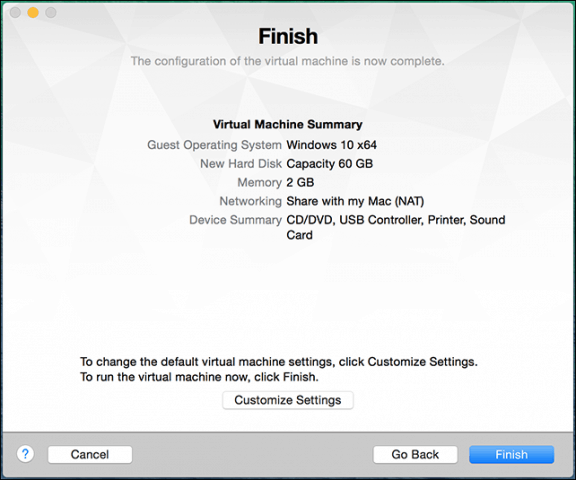
Click Finish if you’re satisfied with the Virtual Machine configuration. If not, click Customize Settings to go back and make adjustments.
Customize your Virtual Machine Configuration
If you want to modify the virtual hardware configuration of your virtual machine, you can use the System Preferences like interface to do so. Common areas of the system you should consider adjusting include Processors & Memory, Hard Disk, and Network.
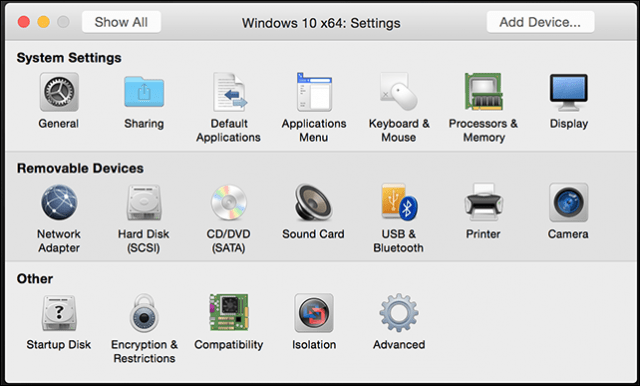
Depending on what you plan to use the Virtual Machine for, you can increase the amount of memory and hard disk for satisfactory performance.

Hard disk settings in VMware Fusion 8
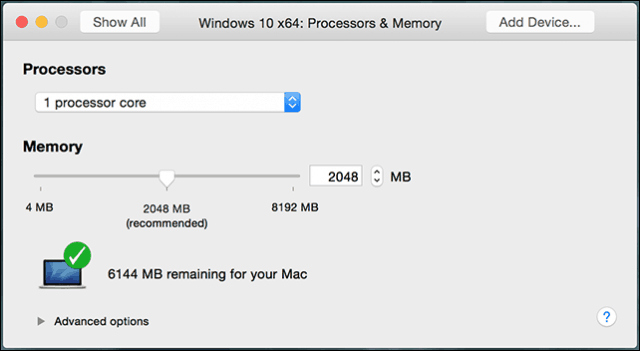
RAM and processor settings in VMware Fusion 8
Installing Windows 10
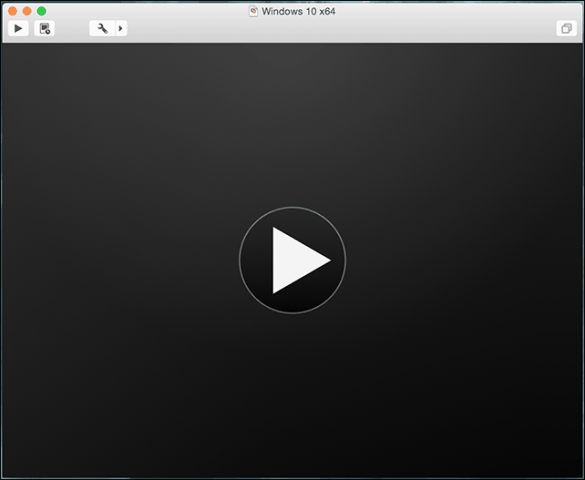
When you are ready to begin the installation, click the Play button in the Virtual Machine window.
Windows 10 setup will now begin. For instructions how to perform a clean install, review our article here.
