نصب و پیکربندی استوریج HP EVA
INTRODUCTION
The purpose of this document is to demonstrate the Installation and configuration, of the HP EVA 4400 SAN Storage. The name , IP and the WWN ID’s used here are not the real ones.
ABOUT THE STORAGE
For most of you reading this, you probably already know a bit about the product. For those that dont, the best description is obtained from the product page at : http://www8.hp.com/uk/en/p
The HP 4400 Enterprise Virtual Array (EVA4400) offers an easily deployed enterprise class virtual storage array for midsized customers at an affordable price. The EVA4400 fits well for customers looking for a high-performance, scalable, reliable and highly available storage solution that can be installed in just a few hours, offering tiered storage with support for high-performance SSDs and Fibre Channel drives or lower priced FATA drives. The EVA4400 brings a host of benefits in a virtual environment: ease of management with Command View EVA software, superior integration, broad operating system support, high availability architecture, dual-redundant design and 99.999% availability, iSCSI and FC SAN attach, and support of local and remote replication capabilities and disaster tolerance software.
The above link also has further information such as specifications and other technical features. Well worth visiting, but for now, let’s get on with this Article.
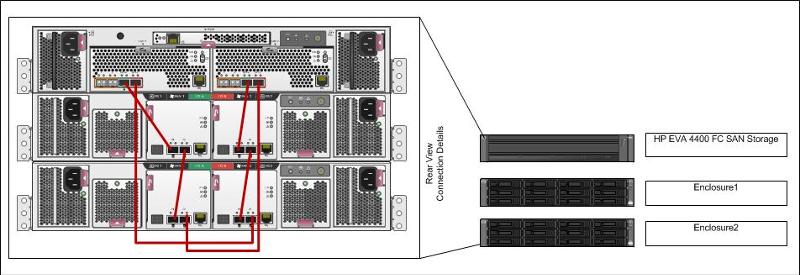
HP 4400 STORAGE CONNECTIVITY DIAGRAM
The connectivity diagram explains the details of the connection between the controller and the disk array.
 HP 4400 STORAGE CONFGURATION
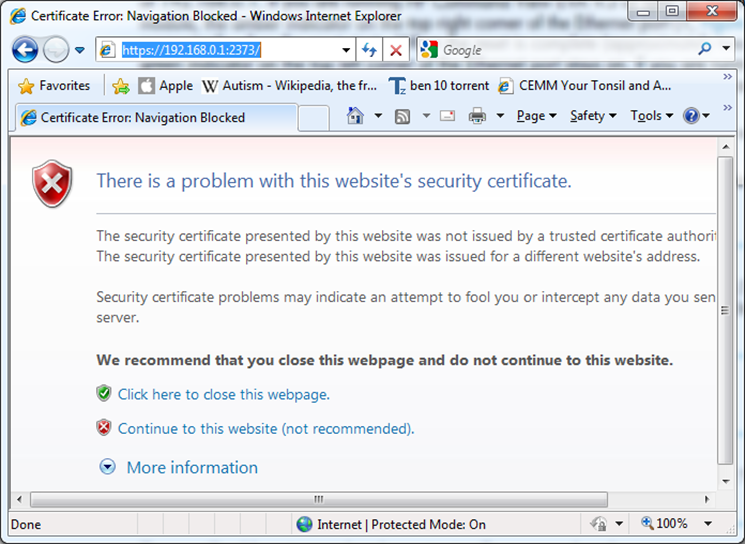
Configure the laptop with 192.168.0.2/24 and Connect to EVA Controller Management port usinghttps://192.168.0.1:2373 which is the default IP. Click continue on certificate warning.
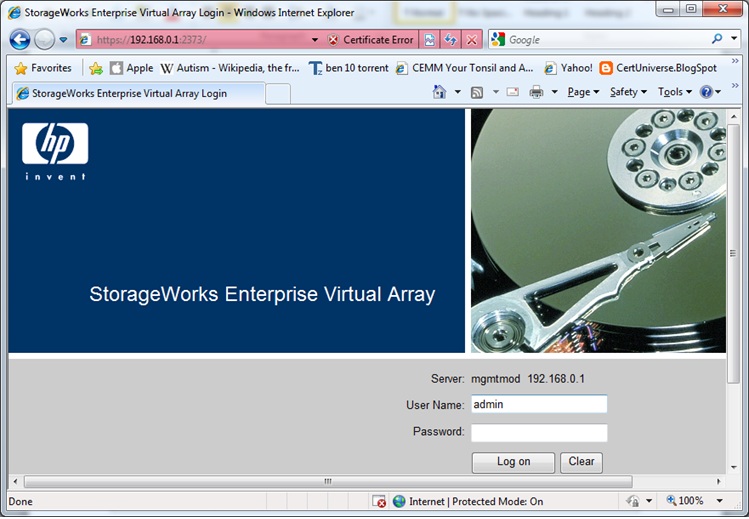
 Login with the default user name : admin and password : blank
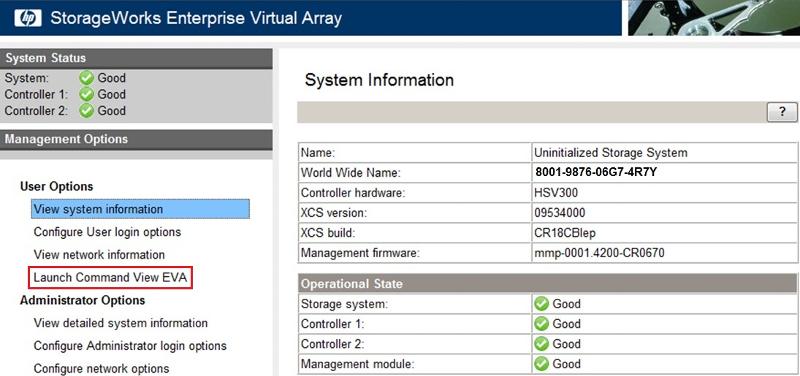
 View the System Information and make sure the operational state is GOOD

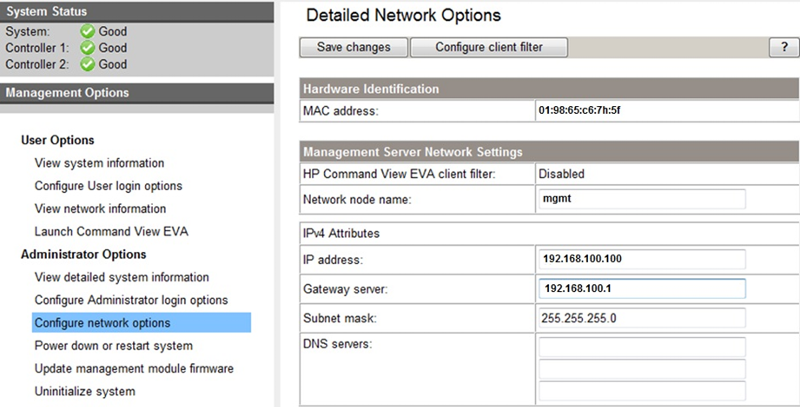
View the Network Option to verify the management IP and network node name.
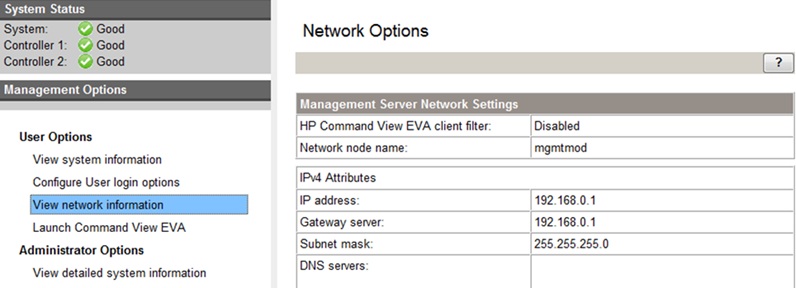 Click on Launch Command View to configure the storage system.
 License Alert is showing in the system. Obtain a license and install it. Obtaining license is provided in the link after login.
https://h30580.www3.hp.com

LOADING LICENSE
Copy the license received through email after registering the EVA with HP using the EVA WWN
 Once the License is installed the status will be showing as active
 INITIALIZING EVA
Click on Initialize EVA to configure the controller from scratch.

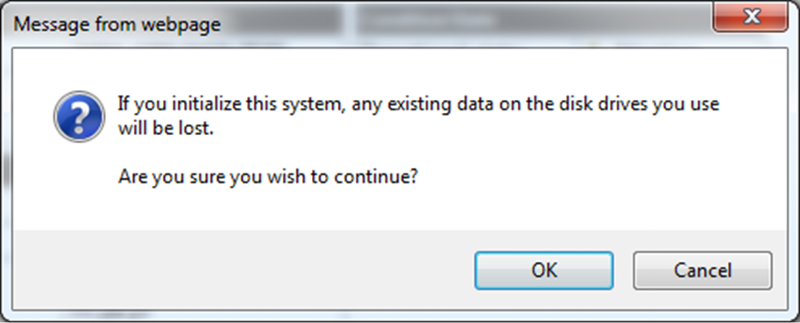 Set the name and disk failure protection
 Set the IP address for the management controller if needs to be changed from the default one.
 Create Group
 Create another disk group and add uninitialized 10 drives
 Now we have EVA01 & AEVA02 disk groups each with 10 drives
Now map the hosts
ADDING HOSTS
Click on Add Host to
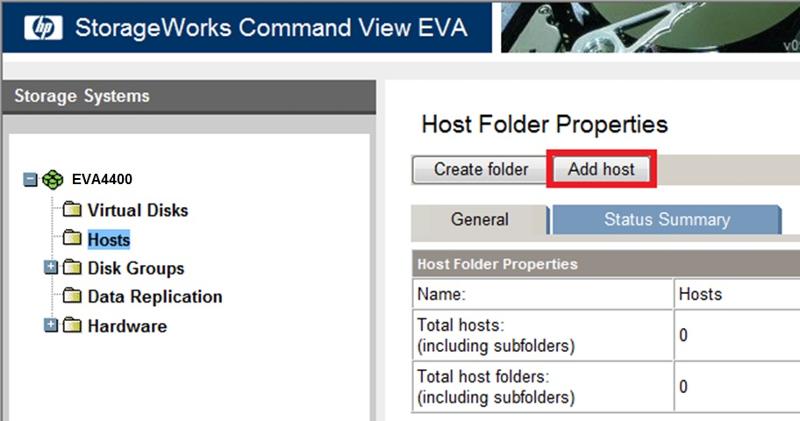 Type the Host name and select the WWN
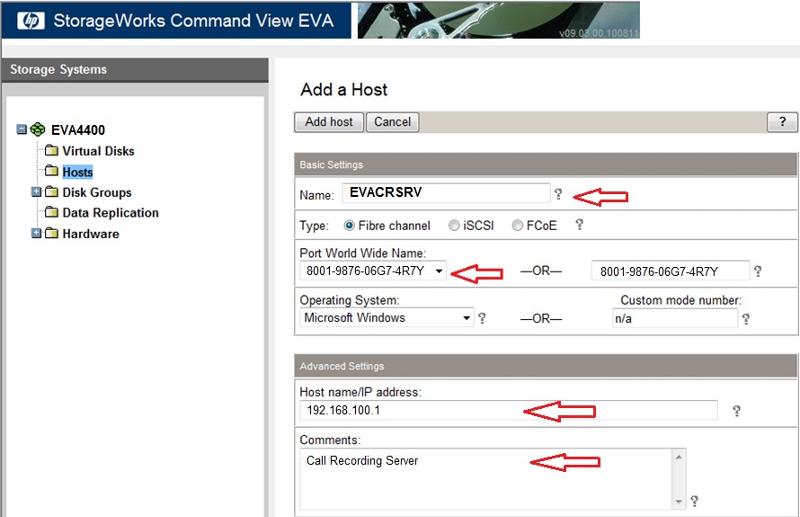 Now the Host is created with the WWN1.
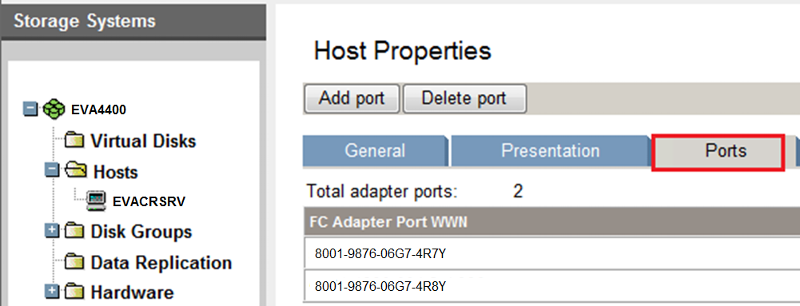
 Since the HBA’s comes with 2 ports we need add both the ports for the proper failover. Now click on the host and go to the port and add the another port
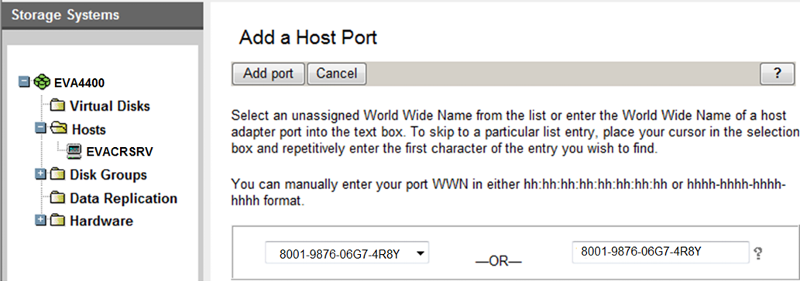 Both the WWN is now mapped to single server
 Same way all other systems which requires the SAN connectivity can be added.
Create and Map Partitions
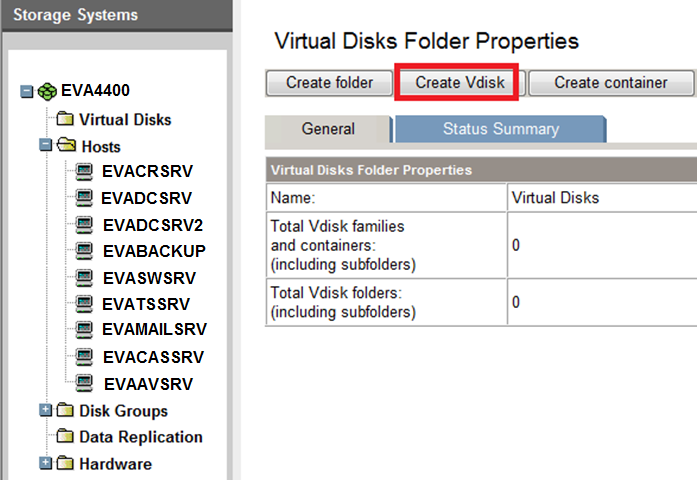

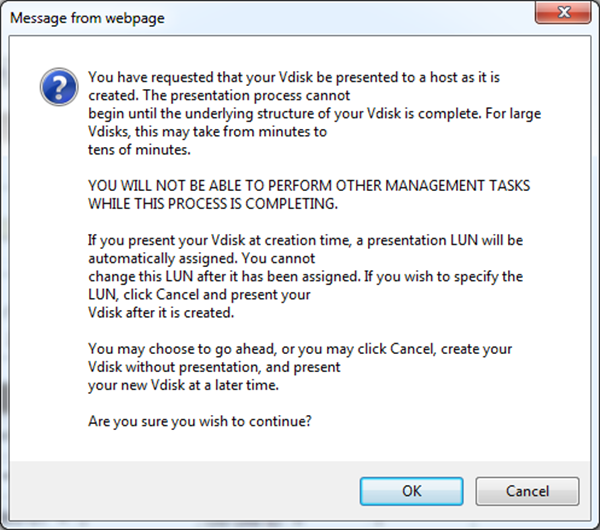
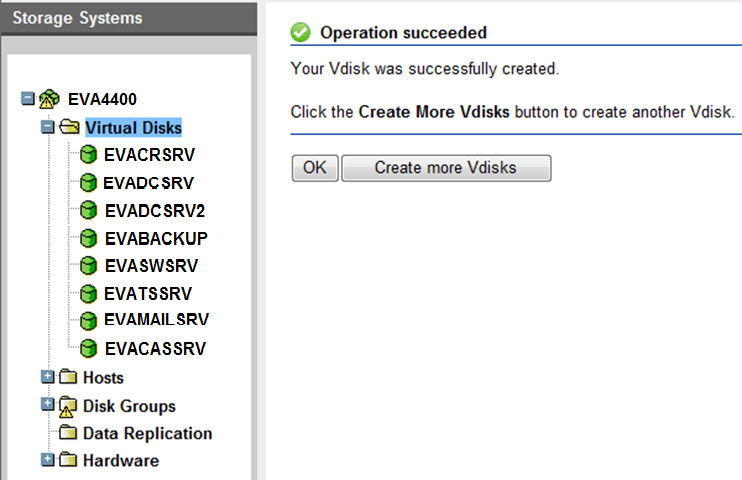
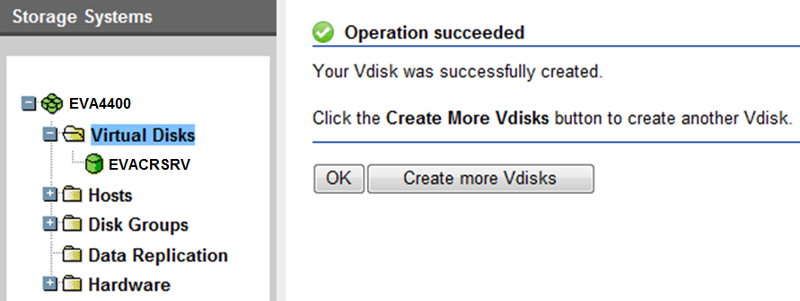 Same way remaining disks can be mapped to the other hosts created in EVA
 MONITORING EVA
Click on EVA system name and the right side shows the number of Disks and Disk groups created and also shows the failed disks if any.

Hope this guide helps you with your EVA configuration and please post any comments or points for discussion.